The Mac OSX Time Machine backup software allows you to encrypt the disk or disk partition that it uses to backup a Mac with Filevault 2. Encrypting a backup is designed to protect the contents so that only a person with the password to unencrypt the disk can restore its contents. However, time machine will automatically unlock and mount an unencrypted disk when it is attached to the computer that created the backup when a user logs in successfully. The time machine software stores a copy of the password and automatically uses it to unlock and mount the disk. You can see this behaviour in this screencast https://www.youtube.com/watch?v=9K4Lc_UHk84
While this is convenient it’s not the most secure approach for protecting a backup. There are many scenarios where a user might not want to have the disk automatically unlocked even though it is plugged into the computer used to create the backup partition. The most obvious reason is if you’ve had your computer and Time Machine external disk stolen, it is easy to create a new user with administrative access giving the thief full access to your backup. If you don’t want this to happen and still use an encrypted partition here is what you have to do:
1. Don’t use Time Machine to create the encrypted partition. Time Machine allows you to select a partition for the backup. To prevent time machine from automatically mounting encrypted partitions, don’t use Time Machine to create the partition.

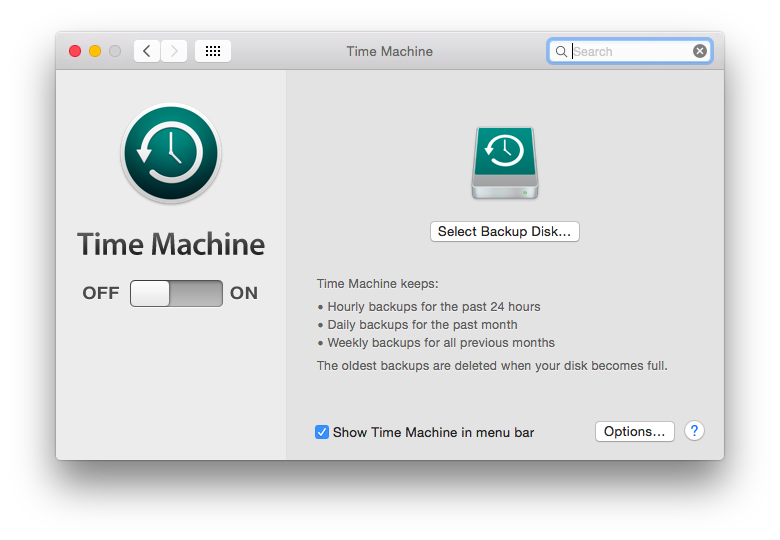
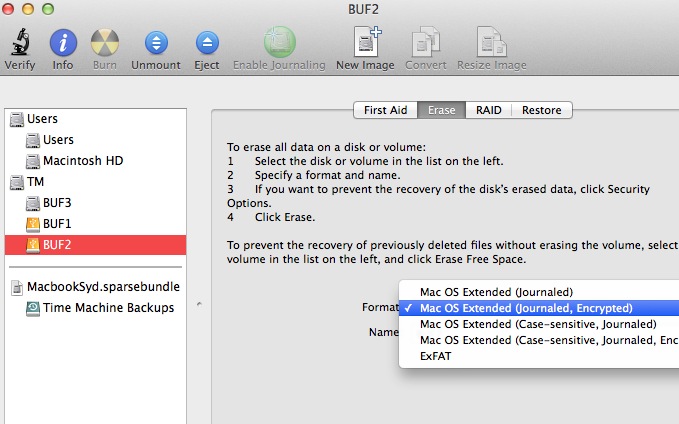
2. Instead, use Disk Utility to create an encrypted partition. Do this by erasing a disk or partition and select “encrypted”. After the partition has been created, open Time Machine and select the encrypted disk/partition for use as the backup disk but don’t check the “encrypted” check box as it is already encrypted:

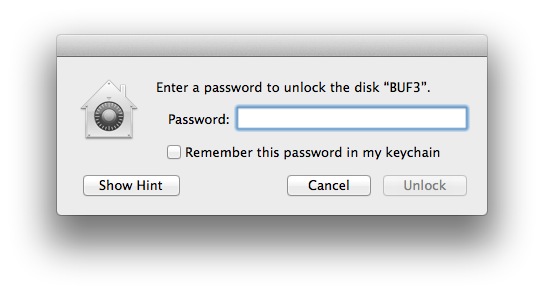
3. When you restart your Mac or plug in the disk, don’t save password you will have to use to unlock the partition. This will allow Time Machine to use the disk/partition to use, but it won’t be available unless you choose to unlock the disk.
