
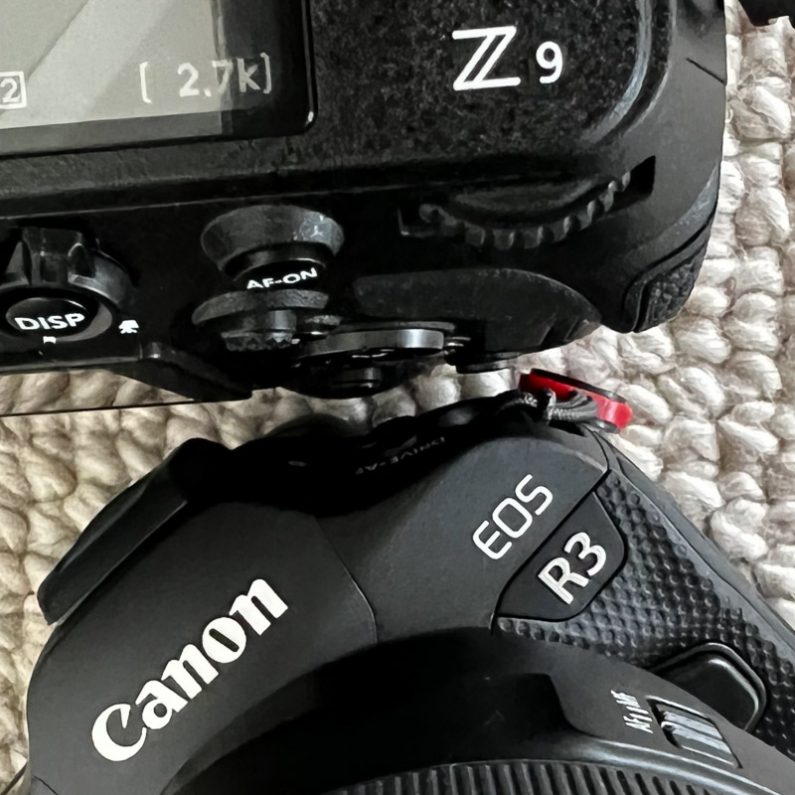
December 2021 saw the release of pro-level mirrorless cameras from Nikon and Canon. Both have autofocus technology that feature subject detection, specifically face and eye detection. This is the most significant autofocus advance over the DSLR era where autofocus was achieved via a sub-system rather than being off the sensor in the mirrorless bodies.
While Nikon and Canon have implemented subject detection, their approach is very different. This is a short post about the differences and some setup tips for both these bodies when shooting news and sports.
In the era of DSLR, autofocus on Canon and Nikon was essentially identical. There was two modes. Continuous and Single. For Sports, Continuous was preferred where the camera continually tries to focus on the area selected by the autofocus points. Nikon called it AF-C mode and Canon AI-Servo. The photographer puts the focus point over the area they want to be in focus and the camera did it’s magic. The photographer called the shots.
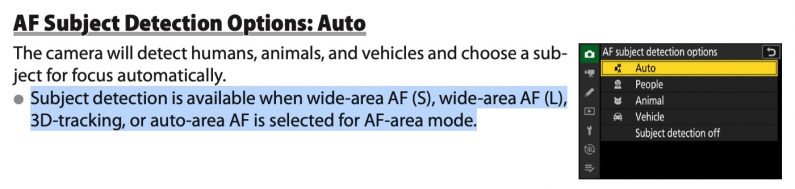
Now with mirrorless, the idea of subject detection was developed. The first subjects the cameras were able to detect via software are people, animals and vehicles. Both cameras have a fully automatic mode where the camera looks at the scene and decides what to focus on. If there’s a single person, animal or vehicle in the scene, the camera will select that and it will focus on a person’s or animal’s face or eyes. Both systems do this pretty well. But, when it’s not in fully automatic mode, the cameras have implemented subject detection differently.
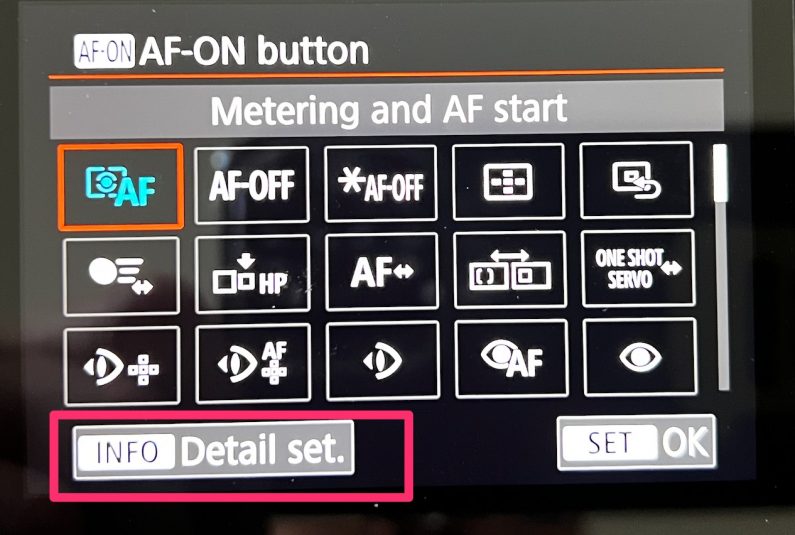
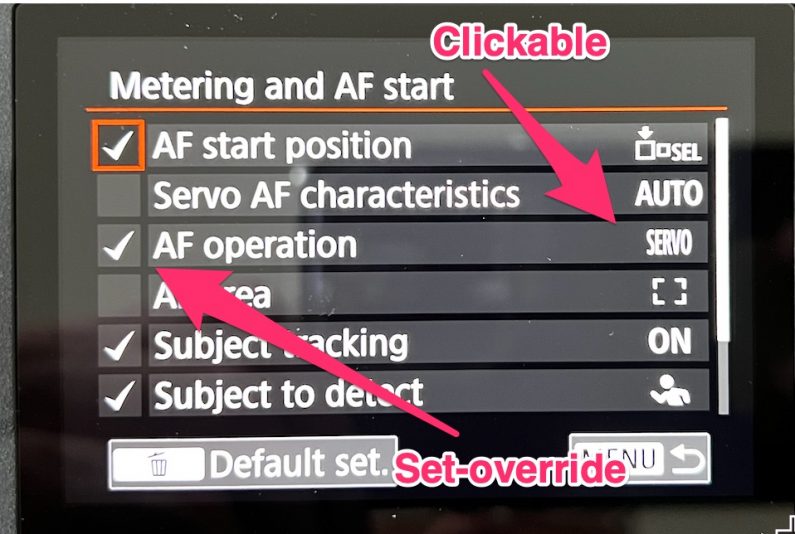
Turning to the Z9 first. The Nikon Sports AF Settings Guide gets right to the point. Nikon only makes subject detection possible in four modes. Three of them are simply restrictions on the area of the sensor that the camera will look for a subject: “auto-area AF” being the whole sensor, and AF (S) and AF (L) are small areas. In this setting, the camera automatically selects the subject. The fourth mode, 3D-tracking, allows the user to select the initial subject to track, and if there is a face of a person, animal, vehicle etc, the focus will select that.
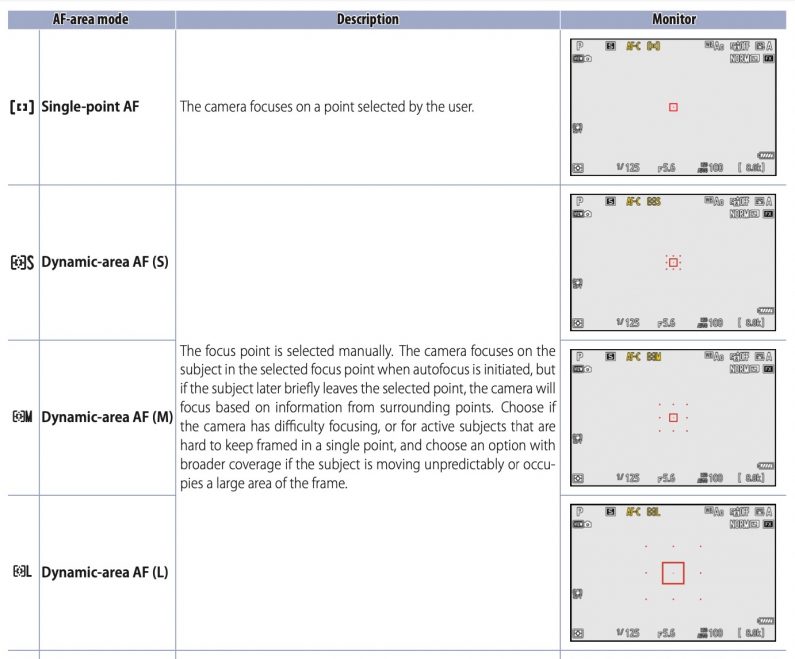
When the Z9 is in the other four AF modes, Single-point and Dynamic-area S, M, and L, the autofocus behaves in the same way as a DSLR, looking for contrast in the area under the focus point. Subject detection does not apply.
This clearly demonstrates that there are two separate autofocus systems at work in the Z9. The traditional approach without subject detection, and the system that can detect subjects. This has been the system that’s been used since the Z6 and Z7 was introduced in 2018.
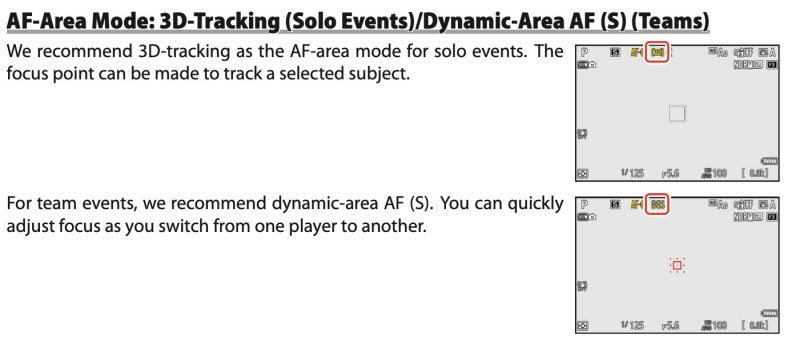
Its interesting to note that Nikon Sports AF Settings Guide, the recommendation for team sports is to use the traditional non-subject tracking mode.
Part two will take a look at how the Canon R3 has implemented subject detection autofocus.
 After the excitement of getting a new Macbook, the practical issues of moving all the applications, data and settings from an old Macbook is largely undocumented. Here’s what I did: